3.1.1. Step 1 - Forking the AI4T GitHub repository
1- Create an account on GitHub
The preliminary step is to create an account on GitHub (it's free) if you do not already have one.
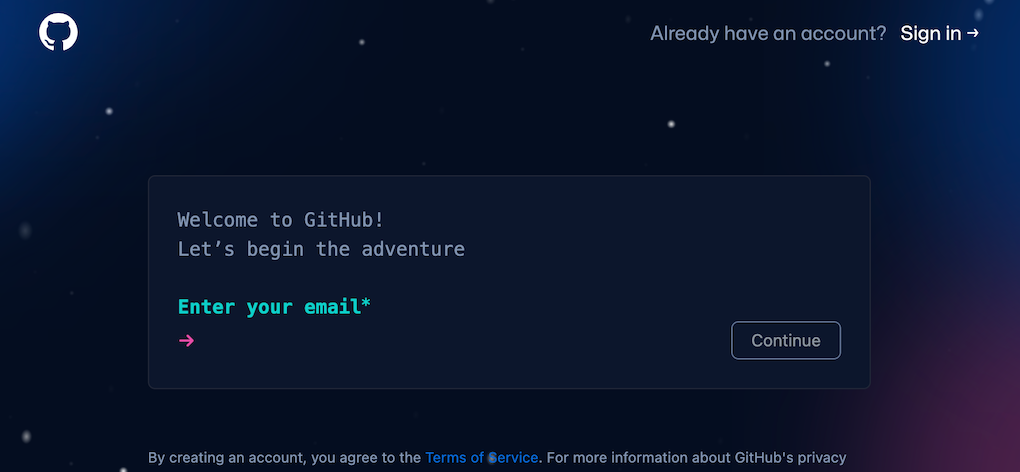
Access to the sign up page on GitHub
2- Access the GitHub repository of the project AI4T
Address of the GitHub repository of the AI4T project: https://GitHub.com/inrialearninglab/ai4t
3- Create a fork of the repository
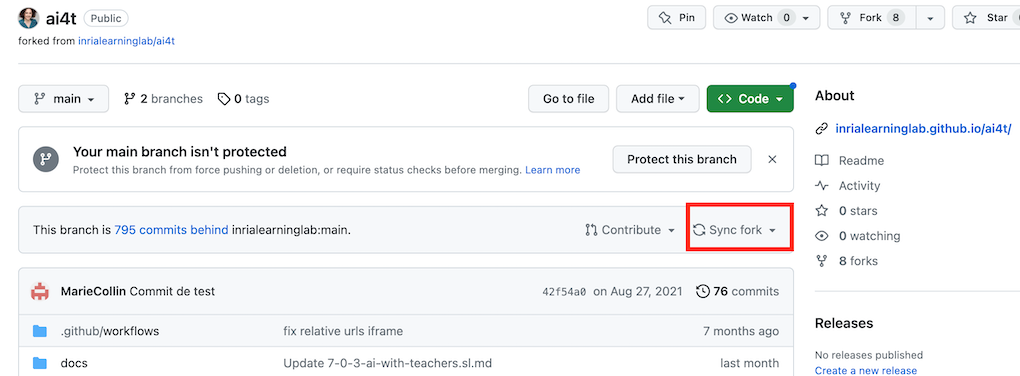
A fork is an extensive copy of elements (from contents to commands) of the GitHub repository but it is detached from the main.
Therefore you can do whatever you want in it without impacting the AI4T Mooc. However if you want to keep up with evolution in the main, you can synchronise your fork whenever you want
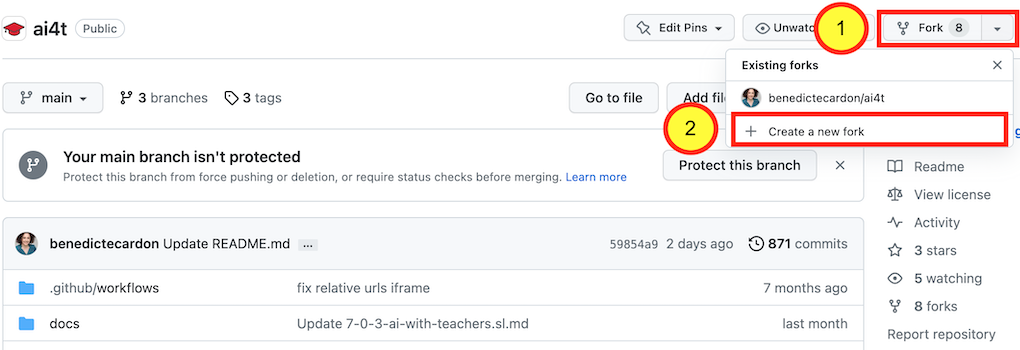
Once created, the fork has to be named.
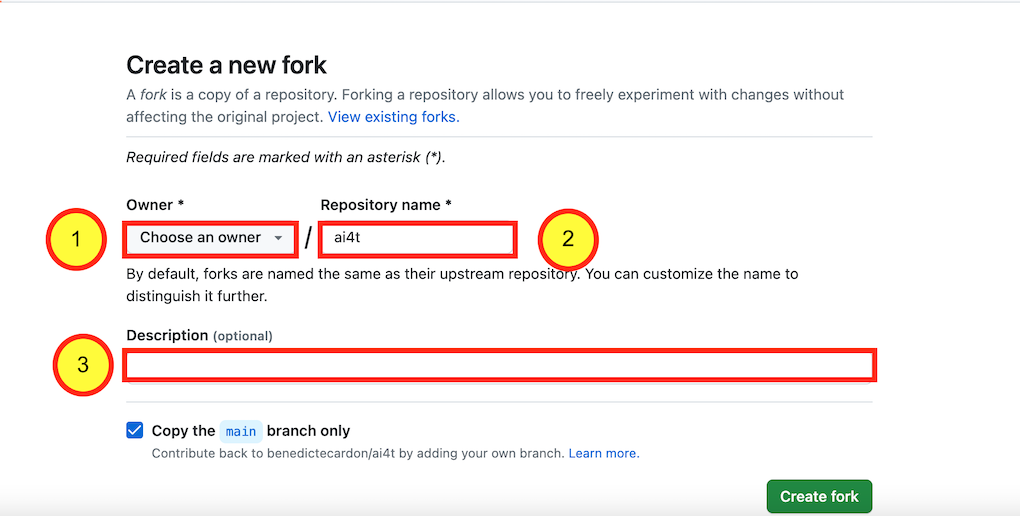
We encourage you to:
1 : Choose the right name for your account
2 : Keep AI4T in the repository name
3 : And to add as description the new target language you are developing
Remember : It's always possible to keep up with the evolution of the initial GitHub repository by "sychronising" you own repository with the AI4T one.
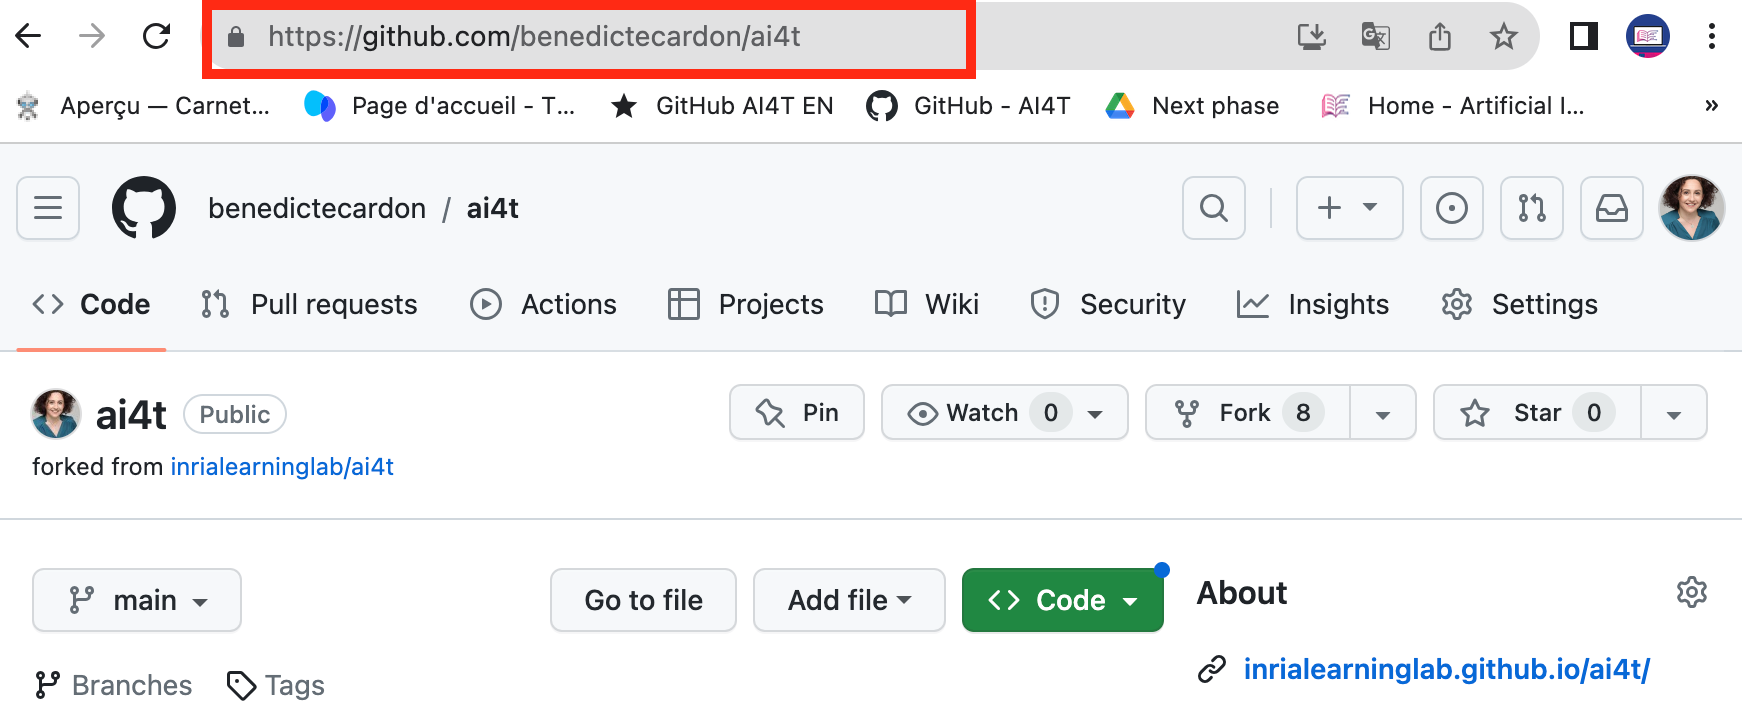
4- Your fork is now ready at your personalised URL address:
Example of personalised URL : https://GitHub.com/ YOURNAME /ai4t